Rough Inspections For Commercial Renovations
Renovating an Office or Restaurant? Be Prepared for Three Rough Inspections
When making renovations to a commercial space, you will encounter a variety of codes and regulations that can differ considerably depending on where the building is located. Before starting any work, be sure to thoroughly research the local requirements to know exactly what is expected.
Inspections will be conducted throughout the project to ensure that all work is performed in compliance with safety codes. The first official checkup is called the “rough inspection” and it’s necessary because the work being evaluated will soon be covered or closed up. The rough inspection offers the inspector a clear view of the work that has taken place to date.
READ: A Contractor’s Responsibility When Renovating a Restaurant
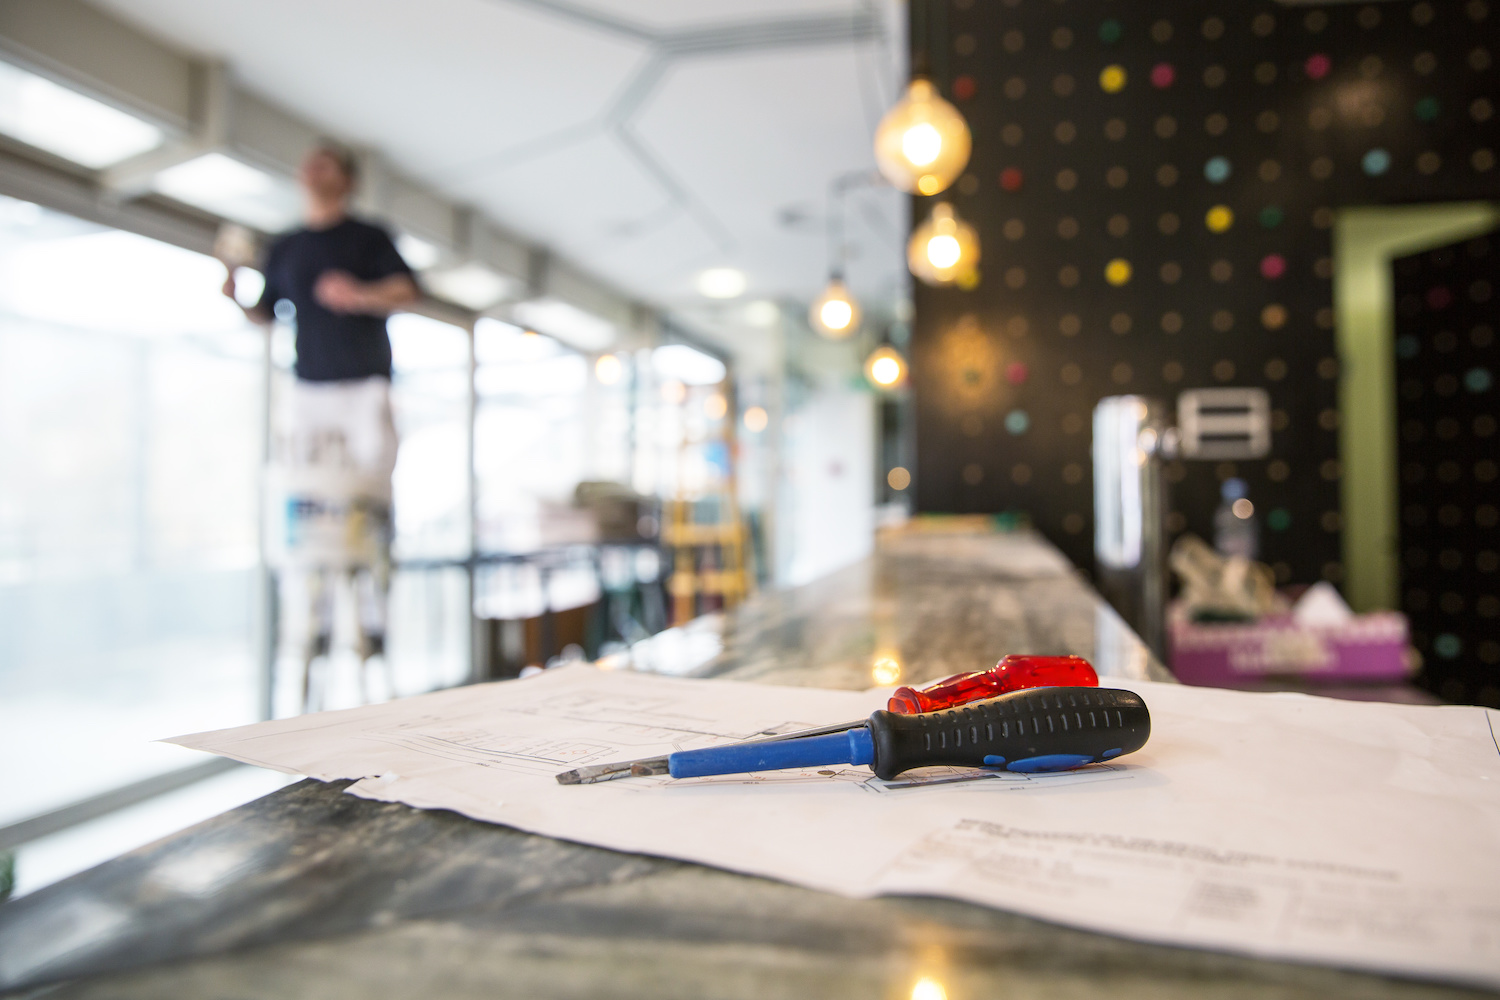
There are three types of rough inspections: electrical, framing, and plumbing. While the term “rough” implies an unfinished product, be warned: these inspections are thorough and detailed. Below is an overview of each type as well as some helpful tips to ensure your inspections go off without a hitch.
Rough Electrical Inspections
These inspections check to make sure the wiring has been installed to code. This encompasses checking to see if all wires are properly supported, stapled, or clamped and the number of wires entering the service box is within the box fill limit.
The inspector also verifies that there are metal plates on stud edges to protect wires running in holes and that no wires run in close proximity to sharp edges or hot pipes. All electrical grounds and neutrals must be made up and completed to the panel location at the time of the rough inspection. Likewise, all low-voltage systems such as specialty lighting, telephone, internet, cable, and security systems must be installed at this time as well.
Consider these common-sense strategies to help you prepare for and pass the electrical rough inspection.
1. Pay special attention to junction boxes
Junction boxes will be scrutinized. These are vital for safety reasons as they help prevent electrical fires from breaking out and help safeguard the essential connections in commercial settings. Junction boxes are made in a variety of sizes so all types of wires can be stored safely. Your junction boxes need to be readily accessible and clearly visible. The wiring going into the boxes should be at least 6 inches long—as anything less may not be conducive to creating secure connections. Be sure that there are no unconnected or unclamped wires inside the junction boxes.
2. Don’t add new electrical lines
When scheduling electrical inspections, you will be asked to detail all of the work that has be done to date. If so, do not add new electrical lines or devices or modify wiring, power sockets, or distribution boxes. The work being inspected must be in accordance with the plans submitted to the city.
3. Make sure that all cables are secured
In a commercial setting like restaurants and offices, there can be no exposed cables of any kind. Be sure all cables are properly enclosed in the appropriate type of conduit (metal, plastic, fiber, or fired clay) and this tubing is securely mounted.
4. Be sure to have all necessary documentation readily available.
The quickest way to fail a commercial electrical inspection is not being able to produce the appropriate documentation. Don’t schedule your rough inspection unless all the required paperwork is available, including all spec sheets. If you don’t have it, you won’t pass the inspection—regardless of the quality of your work.
Quality work and special care in these four areas will increase the likelihood of a successful rough electrical inspection. If you do not pass, most inspection offices will provide you with a timeframe to address and correct the deficiencies.
Rough Framing Inspections
The overall purpose of the rough framing inspection is to verify that safety precautions have been taken and the work to date has been done to code. Timing-wise, it will take place after the structural work is complete and prior to the installation of drywall or wallboard. If new doors or windows are part of the work plan, they must be installed prior to the rough inspection.
Failing your framing inspection can be costly and can affect the construction schedule, because you may need to tear out and refashion the work that didn’t pass.
With this in mind, you need to be sure you are ready for the inspection. Do do you have all approved drawings, building permits, copies of all prior inspection reports, and other relevant paperwork on site? Are the results of other plumbing, electrical, and mechanical inspections readily available?
The rough framing inspection is comprehensive. Depending on your work plan, there can be an extensive number of areas that will be checked. To get an idea of the possible scope, check out this framing inspection checklist template to see all the areas that are subject to examination. While all areas are important, the inspector will most likely take a special interest in the following areas because they represent some of the most common reasons why rough framing inspections fail to get a passing grade.
1. Load bearing deficiencies
The framing and foundation come together to provide the structure’s strength and stability. The inspector will thoroughly evaluate exterior and interior load-bearing walls, beams, girders, posts, and floor framing to see if all work complies with building codes. The inspector will also check the integrity of the connections that exist between them. Any problems in this area will result in an immediate fail.
2. Fire blocking and draft stopping
Fire blocking must be installed in walls, floors, and ceilings to prevent the flow of air in cavities that could allow fire to spread rapidly. Be sure that your fire blocks and draft stops are up to code. This includes fire blocking all walls framed with 10-foot studs, all back-to-back walls with an air space between them and areas where a drop ceiling intersects a wall.
3. Beam integrity
If other contractors have drilled through your framing beams, you’ll need to have an engineer certify that the holes haven’t compromised the beam’s integrity. Be sure to have paperwork on site that verifies the beam is still capable of handling its rated load.
4. Don’t mix apples and oranges
When installing joists, use the correct size hardware. A 2×12 joist requires a 2×12 hanger—even if you have a few unused boxes of 2×6 hangers left over. Don’t double up on smaller units. This mismatching will result in a failed inspection and a lot of costly rework.
Additionally, be sure your joist hangers are completely nailed off and all holes are filled with approved hanger nails. Remember to keep hanger nail heads no larger than regular 8d (2.5”) or 10d (3”) nails.
5. You didn’t build exactly what was approved
If you made any changes to the approved plan, you must add the change to your drawings. The as-built plan supersedes the former plan and must be approved. If the inspector discovers that you made any changes from the approved plans, you’ll fail the inspection.
Rough Plumbing Inspections
Like the electrical and framing inspections, what’s ultimately covered in the plumbing rough inspection varies by location. The rough inspection is done prior to wall enclosures. Several factors will be evaluated including a check to see if the correct sized pipe was used and glued properly, the lines were run correctly, and the pipes are adequately secured.
A commercial rough plumbing inspection can include a water and sewer line video inspection that checks the inside of the pipe’s integrity, as well as grease trap inspection that checks for cracks or breaks in the apparatus.
To prepare, take a look at our 10 point rough plumbing quick check and be sure these areas have been addressed.
- All plumbing must be installed in accordance with all applicable relevant codes.
- All drain lines are suitably vented.
- All plastic pipe and fittings are compliant with all applicable schedules and codes.
- No plumbing tees have been fitted on their side or back.
- All drainage pipes under the floor meet or exceed the minimum required pipe size (usually 2”).
- Washer drains exceed the minimum required dimensions (usually 2” to 3”) before anything else is connected to it.
- Floor drains have been installed in all commercial bathrooms (except for private single-user bathrooms or previously approved by the plumbing inspector).
- Drainage system tests meet required head water and air test standards.
- Copper water lines running under the floor have the appropriate wall thickness (usually Type K).
- All water lines are protected against damage from backfill.
LOOKING AHEAD? BE SURE TO LEARN MORE ABOUT What to Know About Final Inspections
A Quick Word About Inspectors
The job of the inspector is to make sure that all work is done to plan and meets all applicable building codes. Many times, building codes are not expressly defined and are therefore somewhat subjective in nature. This is why it’s always a good idea to meet with the inspector as he or she is conducting the inspection. This also shows your good faith and willingness to work within the inspector’s interpretations.
After the Inspection
Once you pass the rough inspections, you can proceed with the next phase of the construction schedule. If you fail, you must correct all deficiencies before commencing new work. The good news is that most fixes tend to be on the minor side and can be completed rather easily. Before scheduling the reinspection, be absolutely certain all flagged areas have been fixed. Nothing irritates an inspector more than citing the same flaw a second time. The follow-up inspection should only address the deficient areas from the initial inspection.
If you are renovating a restaurant or other commercial space and have questions about the rough inspection process, please feel free to reach out to us today.