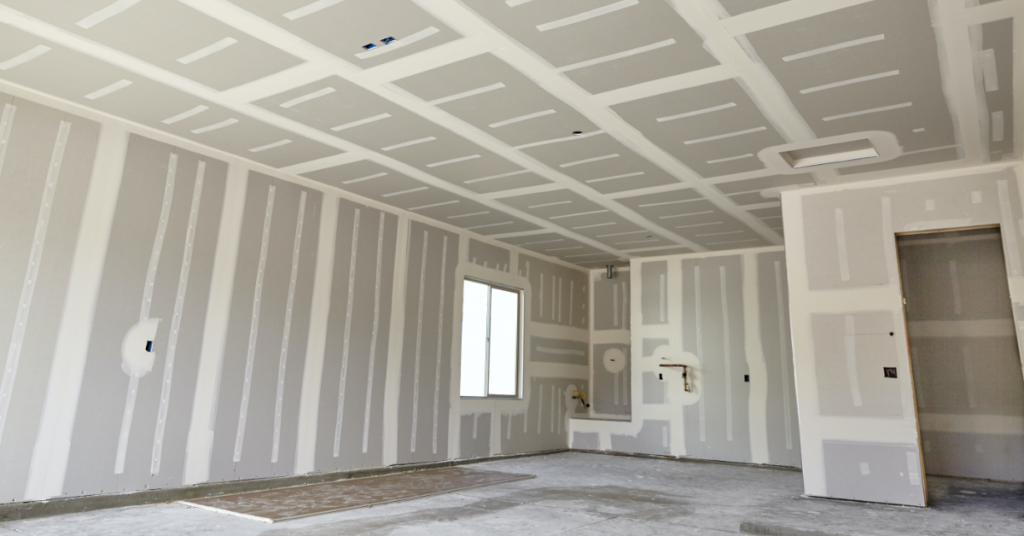
 While every step of the drywall process is important, the finishing stage is the part that requires the most finesse, because it creates the smooth, seamless look that everyone will ultimately notice (and judge).
By now you’ve hung the drywall, taped the seams and joints, and are finally ready to bring your project home. You definitely don’t want to hurry through the drywall finishing stage, however. Botching the finish after all the hard work you’ve done to this point would be a crime.
Check out my other articles on drywalling:
Think of drywall finishing as an opportunity to display your inner artist. You have two goals during this final stage: you want to hide the tape and make the wall appear as smooth as possible. It’s very straightforward, but requires a steady hand, attention to detail, and lots of patience.
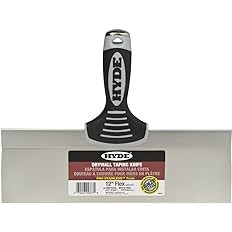
Having the right tools and supplies is critical to getting the finish you want. Here are the tools, supplies, and materials I use for drywall finishing:
Before you start actually applying the finish to the drywall, it’s important to first have an understanding of the different types of joints (seams) you’ll be covering during the final phase of the project. There are bevel joints, butt joints, and angle (inside corner) joints. Each joint requires a different coating technique due to its unique surface characteristics.
Unlike the short edges of a drywall panel, the long edges are slightly concave. This concave edge is created by the factory and is referred to as a beveled edge. When two beveled edges are pressed together, they create a tapered seam called a bevel joint. These joints are also sometimes referred to as taper joints, because of the slight recess they create along the length of the seam. Bevel joints are relatively easy to finish, because the recessed seam accepts compound quite nicely.
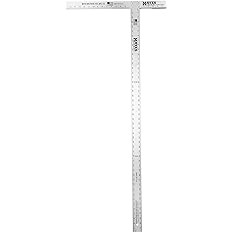
The shorter edges of the drywall panel are flat and rough and lack the taper or factory bevel. You can create flat edges yourself by laying a 48-inch T-square flat against the drywall and using its edge to score the facing side of the panel (the ivory colored side) with a utility knife. You want to go just deep enough to cut through the paper and midway through the core. Then, push down quickly so that the panel snaps, creating a clean edge. When two flat edges are pressed together during the hanging process, they create a butt joint. Because there is no bevel or taper, the tape and compound create a slight ridge over the panel. You’ll need to blend compound away from the ridge on either side to make it less noticeable, using a technique called “feathering.” I’ll discuss how to do this below.
Angle joints are created where two panels are pressed together to form a 90° angle. These inside corners can be tricky to tape, because you have to fold the tape down the center and carefully install the sticky side along the angle in order to cover the seam. For DIYers new to drywalling, taping these inside corners can sometimes go sideways, creating bubbles or ripples that need to be fixed during the drywall finishing phase.
Great news! Now that you have the materials, tools, and supplies you need, and you understand the different types of joints you’ll be finishing, you’re finally ready to start the finishing work.
There are three phases to drywall finishing: tape coating, finish (or skim) coating, and the sanding and touch-up work you’ll do at the end.
 Before you begin, however, you’ll need to mix the fast-setting compound into a paste about the consistency of warm cake icing (without lumps or bubbles). It should be slightly thicker than the compound you used during previous stages. To do this, you’ll want to add about 3/4 of an inch of water to the bottom of your mud pan. Add in the powder from the fast-setting compound and mix with your 4-inch taping knife until you’ve reached the right thickness. If you’re using premixed compound, you’ll find that it is too thick to use right out of the box, so you’ll want to thin it out with water before you start coating the tape.
PRO TIP #1: Don’t contaminate the mud with dried chips from the trowel! It might sound like common sense, but this is a mistake many novices make. If you don’t keep the taping knife clean, dry specks will get into the compound mixture. When this happens, it is virtually impossible to spread the compound smoothly over the wall and it could ruin your finish coats.
I’ve covered drywall taping extensively in my taping secrets article, but during the drywall finishing phase, you’re going to want to revisit the taping work you’ve done and fine-tune any imperfections. Look for bubbles or blisters in the tape and fill any remaining gaps or cracks with the quick setting compound.
This is a good time to apply the first of three coats to the fastener heads to make them appear smooth and invisible. Before doing so, make sure the fasteners are sunk deep enough into the drywall to create a dimple, but not deep enough to break the paper coating on the drywall panel.
Taking your 4-inch taping knife, apply compound over one or more fasteners, and then scrape your knife back across the area, removing any excess compound so that only the dimples left by the fasteners are filled.
Next up is covering the outside corners of the drywall with the first of three coats of compound. When you’re through with the first two coats, the compound should be approximately one-eighth of an inch thick over the corner beads and joints.
PRO TIP #2: Don’t skimp on compound or try to rush the job! Use the drywall compound liberally when applying the finish coats. If you use an insufficient amount of compound, you may rough up or tear the tape during sanding, and you’ll have to recoat it anyway.
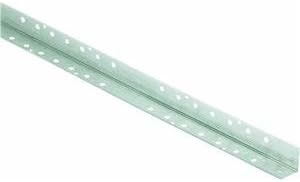
At this point, the corners should already be covered by corner bead, the long, angled metal or vinyl frame that holds the drywall corners together. If it’s not, refer to my article on drywall taping.
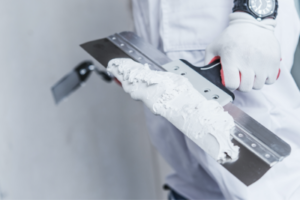
To coat the corner bead, load your 12-inch taping knife with compound and move the knife downward over the corner bead, starting from the top and filling in the gaps with compound as you go. Don’t let your knife leave the corner bead during this process. Once the entire corner bead is covered, go back to the top and feather the compound back toward the corner bead by applying pressure to one side of the knife or the other.
Feathering is a technique you’ll be using throughout the drywall finishing process, so practicing on a spare piece of drywall is a great way to refine your skill.
Feathering drywall simply refers to angling the blade of the drywall knife to even out the compound that has been applied to the wall. The idea behind feathering is to eliminate the ridges that occur during the taping process at the seams and joints by creating a long gradual slope with the knife. Properly feathered joints are easier to sand, and who doesn’t want that?
PRO TIP #3: Make sure you’re not using an old taping knife when feathering your drywall. Or, if you are, that you file the edge flat. Over time, the drywall knife will actually get sharper due to the constant scraping against the drywall. To create proper feathering, the edges of your drywall knife should be blunt, not sharp.
The edge of the corner bead will also create a ridge, so you’ll want to even that out as well by applying the feathering technique. Repeat the process with all of your corners.
Once you’ve successfully covered your corner bead with compound and evened out the ridges with the feathering technique, it’s time to tackle the other joints. I’ll start with butt joints, since they’re often the trickiest.
Coating butt Joints. Because butt joints don’t benefit from the beveled edge, the tape sits on top of the two flat ends of the joint, creating a ridge that cannot be removed. The idea is to trick the eye into not seeing it by using the feathering technique.
Start by using your 12-inch knife to apply an even coat of compound directly over the tape that’s covering the butt joint. Use the same level of thickness throughout the entire length of the seam, being careful not to expose the tape as you go. Next, apply another coat on either side of the first layer, overlapping by about two inches. Try to maintain the same level of compound thickness on each side. Then, feather the compound toward the ridge, eliminating any excess compound in the process.
Finally, run your knife flatly, but firmly over the seam, evening out the center. Be careful not to remove too much compound, otherwise you’ll expose the tape. Then, repeat this process on either side. Soon, the once-obvious bump will seem to disappear.
Coating bevel joints. If you’ve gotten the knack of butt joints, bevel joints will be a breeze. Using your 12-inch knife, apply an even coat of compound directly over the tape covering your beveled joint. Feather on either side, forcing the compound inward toward the joint and removing the excess. Then, flatten the center again. You want to do this firmly but be careful not to expose the tape.
 Coating angle joints. The key to coating angle joints is to do it in stages. This takes patience. Using your 4-inch knife, coat one side of the tape with the fast-setting compound, keeping the thickness of the coat consistent for the entire length of the tape. Even it out with a second coat, and then feather the compound toward the tape, removing excess mud as you go. Give it one final pass with the compound, making sure it’s as even as possible. Let it dry completely. Once it’s dry, coat the other side using the exact same method.
PRO TIP #4: Keep your knife clean throughout the process by wiping excess mud off onto your mud pan. You’ll also want to keep your walls and edges clean of excess mud, as well. The goal is to reduce the amount of sanding you have to do at the end of the process. If you leave excess compound on the drywall panels, you’ll be left with a lot of unnecessary sanding.
Before moving on to the finish or skim coating stage, you’ll need to go back over your fasteners with a second coat of compound in exactly the same manner you used the first time. You’ll also need to coat your corner beads a second time. You’ll coat everything exactly the same way.
Great news! Compared to tape coating, skim coating is easy! It’s also considerably less time consuming. In fact, when you’re done, you may actually wonder why you have to do it all.
The idea behind skim coating is to minimize the amount of sanding you have to do in the final stage. Ironically enough, the process starts with sanding, so get on your dust mask.
Using your pole sander and a 120-grit sanding screen, lightly sand the joints, outside corners, and every previously coated area except the fasteners. All you’re looking to do is even out the slopes and sand away minor rough edges, ridges, and imperfections. The pros call this “scuff sanding.” The wall is now ready for the skim coat.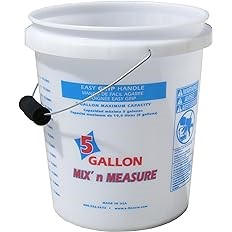
In a 5-gallon bucket, mix all-purpose compound with water to the consistency of soft-serve ice cream. Unlike previous compound applications, you want this coat to be a bit more fluid, but not watery or runny. You don’t want the compound to get unwieldy.
Apply your thin compound to the wall horizontally, overlapping the edges of any previously applied compound by at least an inch. Do a small section, and then—simply clean it all off. That’s right. Remove it all from the wall and scrape it right back in your mud pan, without leaving any on the wall.
While it might seem like busy work, skim coating is a very important part of the drywall finishing process. This exercise gives the wall its smooth finish. After removing the compound, a very thin layer will remain, filling in any imperfections left by the previous coat.
You want to repeat this step, doing small sections at a time until you’ve gone over all the corners and joints you’ve previously applied with compound. Applying the compound in small sections will ensure it hasn’t dried when you go to skim it off. For angle joints, use a 6-inch knife to skim either side of the joint.
The final step of the skim coating is to once again coat the fasteners. You’ll do this exactly the same way you did the previous two times.
Many a good drywall job has been ruined by bad sanding. So, please—for the sake of your walls and reputation—do exactly as I say.
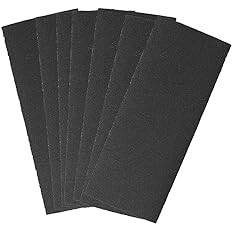
There are two key areas where DIYers go awry with finish sanding. They use sandpaper that’s too coarse and/or they sand like crazy and wind up exposing the tape or tearing the drywall paper. You’ll want to use 120-grit sandpaper and take a light touch.
PRO TIP #5: If you’re using a pole sander, be careful never to sand horizontally or vertically. Instead, keep the sanding head at an angle, and run the sander parallel to the joints. Never cross-sand the joints, unless you’re spot sanding to remove ridges.
Run your hand over the joint you’re sanding to feel for any imperfections, lips, or ridges. Then, sand them out. Don’t overdo it and be sure to wear your dust mask.
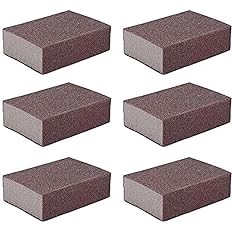
For angle joints, I find it easier to use a hand sander or a sanding sponge, because it can be tough getting into those deep recesses, especially if it’s a three-way corner (where two walls meet the ceiling).
After you wrap up the finish sanding, you may notice there are still a few areas that need to be touched up. Take your marking chalk and add a small amount to your skim coating compound. It should color the compound just enough to stand out from your previous tape coat and skimming applications.
You’ll want to apply this colored coating the same way you applied the previous skim coat—on and then right off. Once it dries, you can then go around the room and spot sand with a hand sander or sanding sponge, using the colored skim coating to help you identify the areas to be touched-up.
Congratulations! You’ve just finished the finishing of your drywall! You can now move on to the painting phase of your project.
I always recommend DIYers use flat wall paints whenever possible. These paints have a slightly rougher texture than glossy paints. This helps to hide very small imperfections, which might otherwise be visible with glossy paint.
Alternatively, you can forego painting altogether and apply either wallpaper or a textured finish. Check out my article on applying knockdown texture to drywall for additional info.
As always, let me know how your project turned out in the comments below.
Comments (No Comment)
No comments yet.