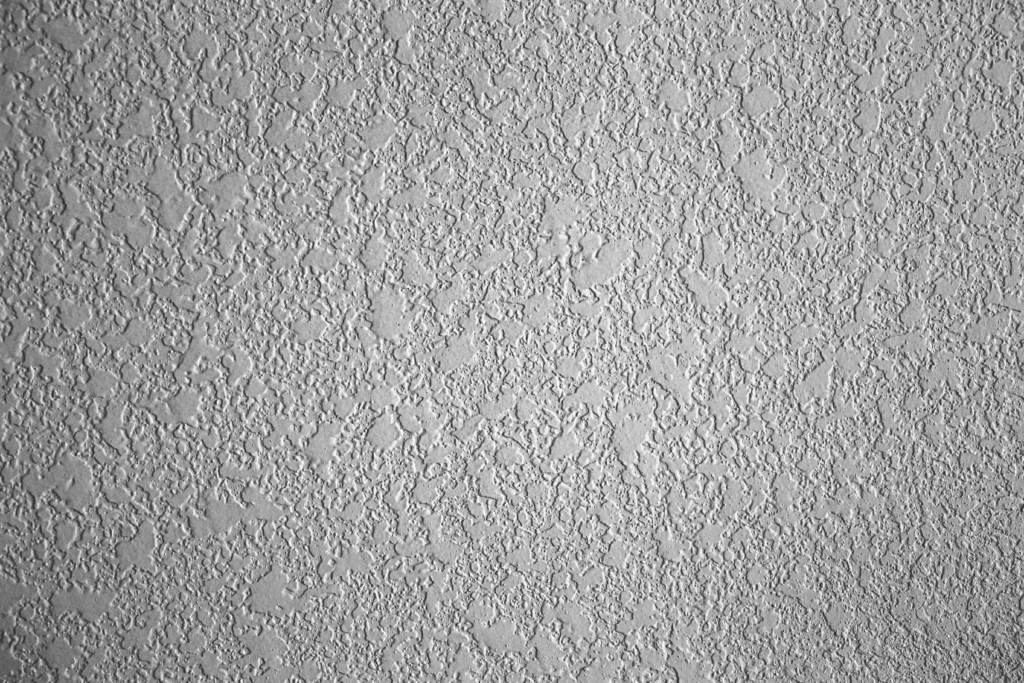
You gotta love knockdown texture.
This flattened finish has commonly been used to help hide minor surface imperfections, but in recent years it has grown in popularity thanks to its rustic, natural look. Its texture is reminiscent of stucco, but it is smoother and more spread out.
Builders have been widely applying knockdown texture to drywall since the early 1990s. It’s known for providing a casual elegance to interior walls and lends itself to a wide variety of décor types.
Check out my other articles on drywalling:
There are basically three different knockdown texture techniques: splatter, stomp, and mud trowel (also known as skip trowel). We’ll discuss the tools and materials you’ll need, the steps you should take to prepare yourself and the walls, and how to execute each type of knockdown finish.
Like any fine recipe, you need to make sure you have all the right ingredients and tools before you begin. Here’s a list of tools and materials you’ll need to gather before starting the job.
Additional items you’ll need: shop cloths or rags, two or three 2- or 5-gallon buckets, water, a scrap of drywall (for testing), and a tarp or drop cloth.
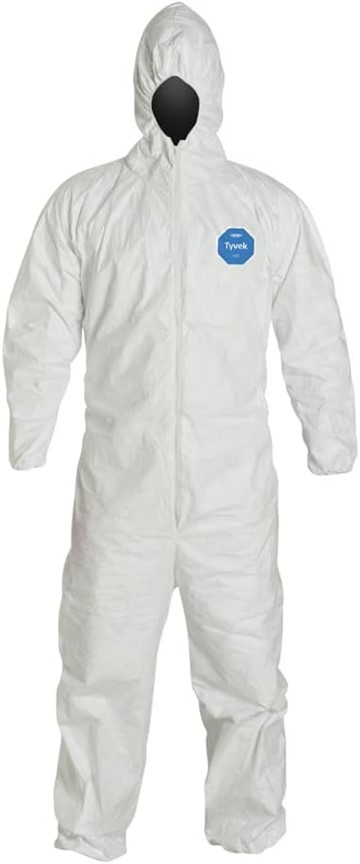
Protecting yourself is always a top concern, as is protecting the space where you’re applying the drywall. As with any home improvement project, there are always risks of injury (and of creating a mess)!
Here are some pre-project tips to keeping things clean, tidy, and safe:
Before you start mixing powder, make sure that you prep the area or room where you are applying the drywall. You should wipe away dust and dirt using a damp rag. Make sure you allow any moisture to dry before moving forward.
Keep in mind that:
Before creating any knockdown texture, you’ll want to make sure you tape off the area to be finished and have sanded down the walls.
Here’s how to prepare the compound:
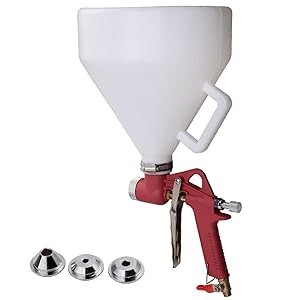
After you load the hopper, spray a test pattern on the wall plastic. Since the walls are covered with plastic anyway, they’re perfect for spray practice. Move the drywall texture gun faster for less coverage, slower for more. Texture mud is pumped through a long hose to a gun operated by hand triggers. The texture gun mixes texture material with compressed air just before it is sprayed onto the drywall surface. The type of texture is determined by the type of material used, the size and type of nozzle on the texture gun, and the amount of compressed air introduced into the mud.
You can choose between 3 different sized tips for the hopper: small, medium and large. You can spray the mixture lightly to create a fine texture or heavily to create a more rugged look. Usually a medium texture works great with an air control valve so that you can turn your pressure up and down. When applying knockdown, we recommend using a setting of around 40 psi, because you don’t want it to spray too fast.
Keep a consistent speed when applying knockdown drywall. We recommend that you do not move the sprayer too fast or too slowly. You’ll have to practice in order to find the best speed to use when applying the spray-on mixture. Do not overload the spray surface and remember to use the right spray pressure. The speed of application must remain constant over the drywall being finished.
PRO TIP #1: If you don’t have a hopper gun or don’t want to use a sprayer, you can still achieve a nice knockdown finish without it. You can even achieve similar texture patterns with a paint roller. You may need to thicken or thin the mixture to achieve certain patterns, and you can give it more body by adding a small amount of sand or mica.
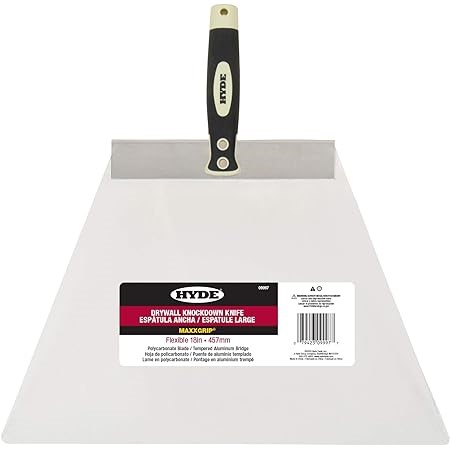
When knocking down the compound, you’ll definitely want to use a flexible blade. Without flexibility, the chances of scoring the texture are greater. Make sure you don’t let the mixture set for too long on the wall. It’s a good idea to keep a damp cloth with you so you can wipe your blade clean after knocking down a section of raised mud. You’ll want to leave the knife a little wet, so it glides over the next textured area smoothly. Once the edges and peaks have been knocked down and the mud has had a chance to firm up (but not set), use a long handled curved drywall knife to lightly smooth out the tops of the ridges and create the low profile “knocked-down” look.
PRO TIP #2: It takes practice and experience to know exactly how long to wait before knocking down the texture. If you do it too soon, the texture will be runny and simply smear. If you wait too long, small dried out pieces of mud will drag across the surface creating unsightly lines.
Depending on the temperature and humidity levels in your house, it can take anywhere from five to ten minutes for the compound to set to the desired rigidity. This can cause problems because the longer it takes the material to dry, the more vulnerable it is to failure, mold growth, cracking, and more.
Of all the knockdown textures, splatter is the most popular. With its custom, splotchy pattern, splatter texture has the classic look of Spanish lace and is the most popular (and consequently most common) of the knockdown textures.
There are two steps to creating this finish.
Because a drywall hopper gun is required, this technique requires more initial setup time than the stomp and mud trowel methods, but once you’ve finished the setup, the application should be quick, uniform, and less exhausting than either of the other techniques. You can splatter smaller surface areas in as little as an hour; larger areas can take up to a day to finish. You can also vary the look of the finish by using water to thicken or thin the mud or by adjusting how much pressure you use to knock down the peaks that form.
The stomp method creates a much rougher surface than the splatter or mud trowel techniques, but with higher ridges and deeper valleys, stomp textures always turn out interesting and unique.
Here’s how to achieve the stomp texture: 
Because the stomp method requires a paint roller to apply the compound to the drywall surface and the additional step of stomping the mixture with a stomping brush before knocking it down, don’t be surprised if this takes longer than you thought. It can take up to twice as long to achieve this look than the splatter method, but the results are worth the extra time.
Read: 6 of The Best Knockdown Sponges
The mud trowel texture provides the smoothest, most subtle finish of all three knockdown types, but it takes a while to make it happen.
Here’s how to achieve the mud trowel texture:
Be forewarned, hand troweling takes a lot of patience, making this technique more time-consuming than the splatter or stomp methods.
Well, there you have it! Our best tips for how to apply knockdown drywall. Good luck with your project and be sure to leave a comment to let us know how it went and what tips you found most helpful.
Have questions about what drywall contractors bring to the table? Check out our overview here.
Comments (No Comment)
No comments yet.