 I wish I could tell you there’s an easy way to sand drywall. The most common ways to do it–power sanding, wet sanding, and dry sanding–each have their benefits, but none can really be classified as “easy.”
What typically makes drywall sanding such a miserable chore is both the monotonous, repetitive, and energy depleting act of sanding itself and the extensive and exhaustive cleanup of dust.
Check out my other articles on drywalling:
I guess if I HAVE to name the easiest way, it would be auto sanding, a.k.a “power sanding.”
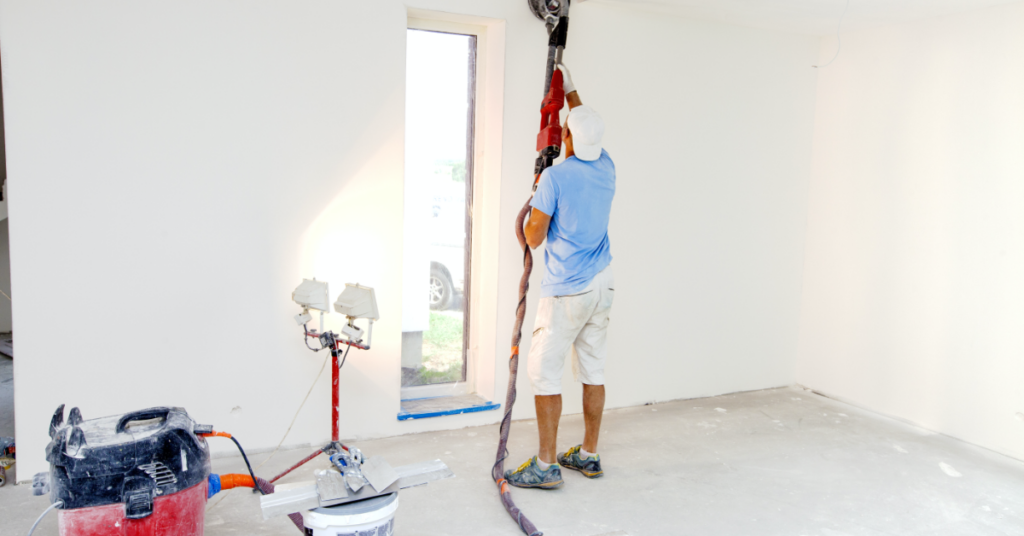
If you’ve got some extra cash, you might want to invest in an automatic pole sander with a dust collection attachment. Power sanders save lots of time and effort and are perfect for reaching high areas and ceilings without a ladder. They’re also great for wide open spaces, and they come with their own suction bags to collect dust.
 Sadly, auto sanders can’t do it all. You will still have to do some sanding by hand. While auto sanders are great for most of your sanding work, they’re not ideal for those tight areas near the molding or trim. And even though cleanup is much easier thanks to the vacuum-powered dust collection bag, you’re also still going to want to make sure you use a dust mask and safety goggles. Auto sanders will catch the vast amount of dust created by the sander, but they won’t catch every particle.
PRO TIP #1: If you do decide to invest in an automatic pole sander, make sure not to lean into the sander when sanding the wall. Novices tend to use their bodyweight to apply pressure, expending energy they don’t need to and creating uneven surface areas. Instead, use the weight of the machine to apply the pressure. There’s less chance of it gouging, and you’ll wind up with a beautiful finish.
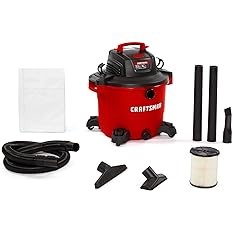
Even if you don’t have the big bucks to shell out for an auto sander, or if you’re not willing to make the investment because you don’t anticipate doing that many drywall projects, there are other automated options. Try a vacuum hand sander that hooks up to your wet/dry shop vac. You’ll be amazed at how much these tools can decrease your dust output, and the best part is they’re relatively inexpensive. They do have their downsides, however.
First, they can sometimes be difficult to use because they lack flexibility where the sander meets the suction tube. This can make it difficult to maneuver around smaller areas. You’ll also need to be diligent when using the suction feature on many of these models. Too much suction can cause the sander to stick to the wall, making it extremely difficult to move. Too little suction can allow copious amounts of dust to escape, making the whole exercise pointless. Adjust the suction to whatever works best for you and your project.
One other thing with vacuum hand sanders: be very careful when cleaning out your shop vac after use. Keep your safety goggles on and your dust mask, because there will be dust and it can be intense. It’s best to empty your shop vac outside.
Also, keep in mind that auto sanding–whether you’re using a fully automated pole sander or a vacuum hand sander–is best for rough sanding only, not finishing sanding. Even with fine-grit sanding screens, the likelihood of scratches is high.
PRO TIP #2: If you’re using any kind of automated sander, be sure to always keep the sander flat up against the wall. Sounds simple, I know, but even the slightest twist can cause scratches. The good news is that a wet sponge can sometimes blend out minor imperfections, but big scratches or gouges may require a reapplication of joint compound or mud … which will ultimately lead to more sanding (ugh). Sanding up and down or side to side is best and will result in minimal scratches.
If you decide to forego the automatic route, sanding drywall comes down to two choices: wet sanding and dry sanding. Both require plenty of attention to detail and both have their plusses and minuses.
Deciding which method to use depends on a number of factors: dust is of course one of them, but so is the finish you plan to apply when you’re done. Dry sanding tends to have the smoothest finish, while wet sanding can be a bit rougher. So, if you’re planning to paint the wall, dry sanding is definitely the best choice. If you plan to wallpaper or add texture, wet sanding is fine (and it’ll save you lots of time and energy).
Dry sanding is the typical method used to finish drywall joints, because, as I said, it produces the smoothest finish. If you plan to paint the drywall, a smooth finish is critical. The drawback? You guessed it: a total dust storm. This is often why homeowners and DIYers will consider wet sanding, especially if a smooth finish isn’t absolutely necessary (like when you’re applying knockdown texture, for example).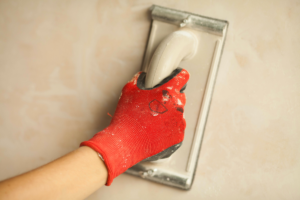
Dry Sanding Drywall Tips
Dry sanding is definitely the more tedious method of the two. While it’s easier to recognize imperfections, it’s also more laborious and time-consuming.
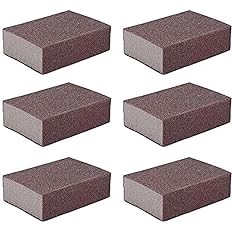
Since drywall dust is the biggest downside to sanding drywall, wet sanding avoids most of this mess and the cleanup associated with it. The downside is that it doesn’t really produce the smooth finish you can achieve with dry sanding, but it is a good option for sanding small patches and tight corners, since it’s easier to work a sanding sponge into those areas.
Wet Sanding Drywall Tips
Wet sanding is definitely easier than dry sanding from a cleanup perspective, but it will still take time and effort. Make sure you get good and fueled up before undertaking the sanding portion of your drywall project. You’ll need the energy.
Once you’ve chosen your preferred sanding method, you’ll need to have the right tools, materials, and safety gear. These are the basics:
It’s tempting to buy 80-grit paper to speed up the sanding job, but because modern lightweight joint compound is so soft, you don’t need heavy-grit paper to sand it. Coarse-grit paper or sanding screens will leave undesirable sanding marks and actually make your work more difficult (because you’ll have to re-sand to get that smooth finish).
I recommend using 120-grit or 150-grit paper for best results. Buying pre-cut sheets made to fit your sander is also a nice time-saver.
Don’t try to sand out gouges and big ridges. It’s much easier just to trowel on another coat of joint compound. This is especially important at the edge of joints, where too much sanding will damage the paper face on the drywall. It’s quick and easy to lay on a thin coat over the edge of the seam to fill a depression. Thankfully, you don’t have to cover the entire joint again.
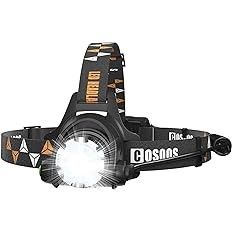
Using a headlamp or flashlight, go back over the walls and ceiling and fine-tune any rough spots or imperfections with a hand sander. I like to use a pencil to circle any dings, pits, gouges, scratches, sanded-through areas or other problems. It makes finding them much easier, when you need to go back to touch them up with joint compound. Don’t forget to re-sand these spots when they dry.
Here’s how you want to use your light:
Sanding after priming is a critical step that many beginners skip. DO NOT skip this step, because sanding before painting removes paper fuzz and lumps that will show through your paint job and make it appear lumpy.
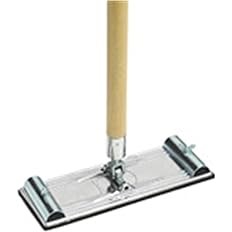
Using a hand sander for corner work is just asking for trouble, because you can’t really get a crisp corner with it. Even more troublesome is the tendency to scuff or gouge the opposite side of the corner with the edge of the sander.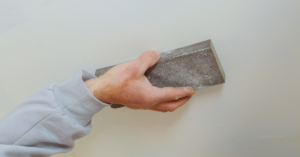
To keep your corners smooth, sand as close as you can (typically within a few inches of the corner) with your hand sander. Then go back and touch up with a sanding sponge or folded piece of drywall sanding paper.
You should definitely use moderate to light pressure and avoid sanding over the same spot in a straight line too much. Pushing too hard can leave a groove or depression that will show up when you paint, and you can actually sand through the compound.
The open edges of an electrical box can rip your sandpaper, or worse, a piece of the drywall’s paper facing can roll up under the sander and tear off. Keep a few inches away from your electrical box openings and touch up around them later with a sanding sponge.
I’ve said it a couple times already, but that’s only because it’s really important. First of all, removing the dust is a critical step before painting, because the dust can interfere with the paint’s adhesion to the surface of the wall or ceiling. Additionally, the sooner you remove the dust, the less chance it has of spreading throughout the house. Over time, breathing the dust from drywall joint compounds can cause persistent throat and airway irritation, coughing, phlegm production, and breathing difficulties similar to asthma. Smokers or workers with sinus or respiratory conditions may risk even worse health problems.
There you have it. Just about everything I know about sanding drywall like a professional. Questions about drywall sanding? Let me know in the comments. I’d also love to hear about your drywall sanding project.
Comments (No Comment)
No comments yet.